
It has been two days since the Garmin servers went totally down across the world.
This has left many endurance runners unable to upload their training activities onto Garmin connect, as well as easily sync to other platforms such as Strava and Runkeeper.
But don’t worry, as there is a workaround in order to get your sports activities onto e.g. Strava, on a daily basis.

Plug in the cable
In order to get your activities onto Strava, you will first need to plug the cable that the watch came with into your laptop. That is the same as the charging cable.
I use a MacBook, so these tips are pertaining to the Mac. But I think that the process for those using a Windows PC should not be too different from what has been described here.
How to locate the activity file
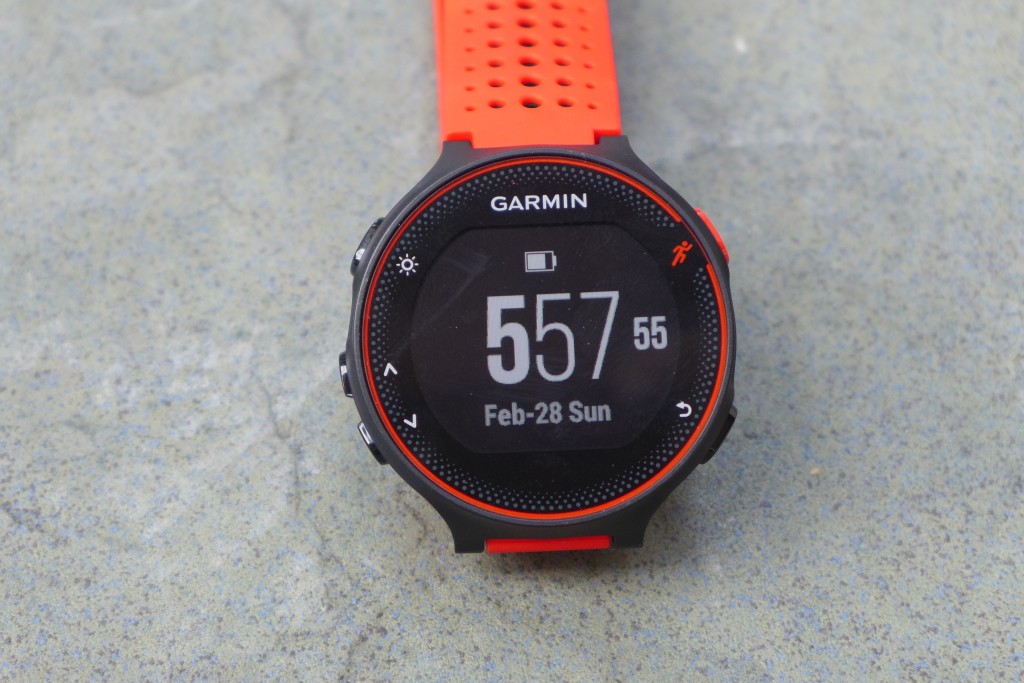
For the non-music Garmin devices, your watch will appear on your Mac as an external drive, similar to a USB flash drive.
Click on it and head to Location – Garmin – Activities. Then scroll down till you find the .fit file containing the activity that you wish to upload.
For music-enabled Garmin devices, the watch will not appear immediately.
So this means that you will need to download the external Mac app, ‘Android File Transfer.’ Though the app is primarily used to connect Android phones and tablets to a Mac, it will also work for your Garmin watch.
I use a Forerunner 945, a music-enabled watch, so the above was what I had to do in order to sync my own activities.
Do make sure that Garmin Connect is completely closed when you are installing and opening the ‘Android File Transfer’ app, because these two apps cannot function simultaneously.
Upon installing and once the main window appears on the ‘Android File Transfer’ app, navigate to Primary – Garmin – Activities and then scroll down till you find the .fit file that you wish to upload to Strava.
How to upload onto Strava
Once you have the file you want, log into your Strava account on your Mac and go to the uppermost right corner. Select the ‘+’ icon in the drop-down menu and go to ‘Upload Activity.’
Then choose the Upload File function and pick the .fit file that you wish to upload.
Once you have done that, your activity is now on Strava and you are good to go.
You’ll be able to edit the activity, as per normal, as well as to add photos and choose your shoes and training gear that you require.

